Snowflake Job Aid 
To login to Snowflake, please visit the Snowflake login website.
- Once you have received an invite from the CDPH directory for collaboration, you’ll be able to login with your organization’s user details.
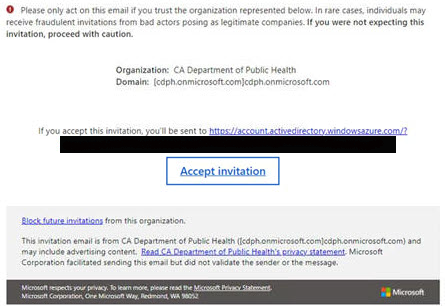
-
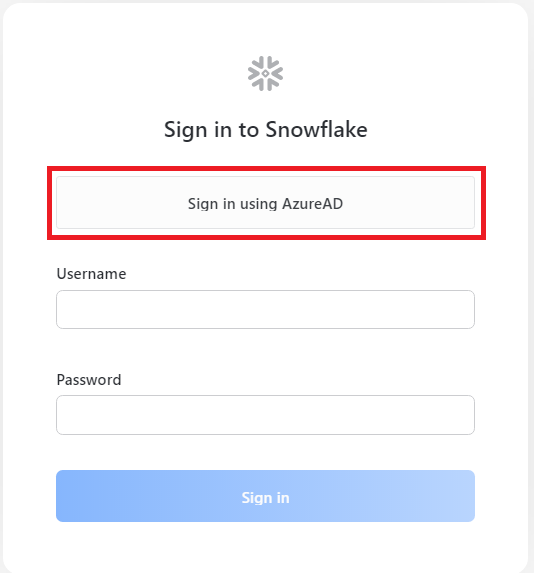
Simply click the “Sign in using AzureAD” option.
-
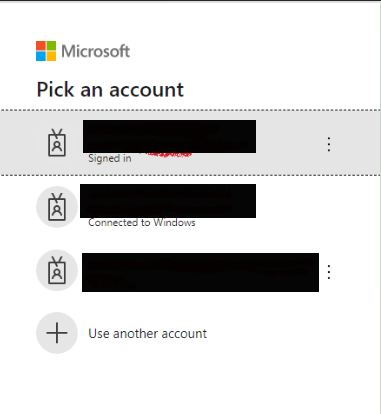
If you have more than one logged in account, you’ll see a prompt like below. Be sure to use the email address you received the invite to.
-
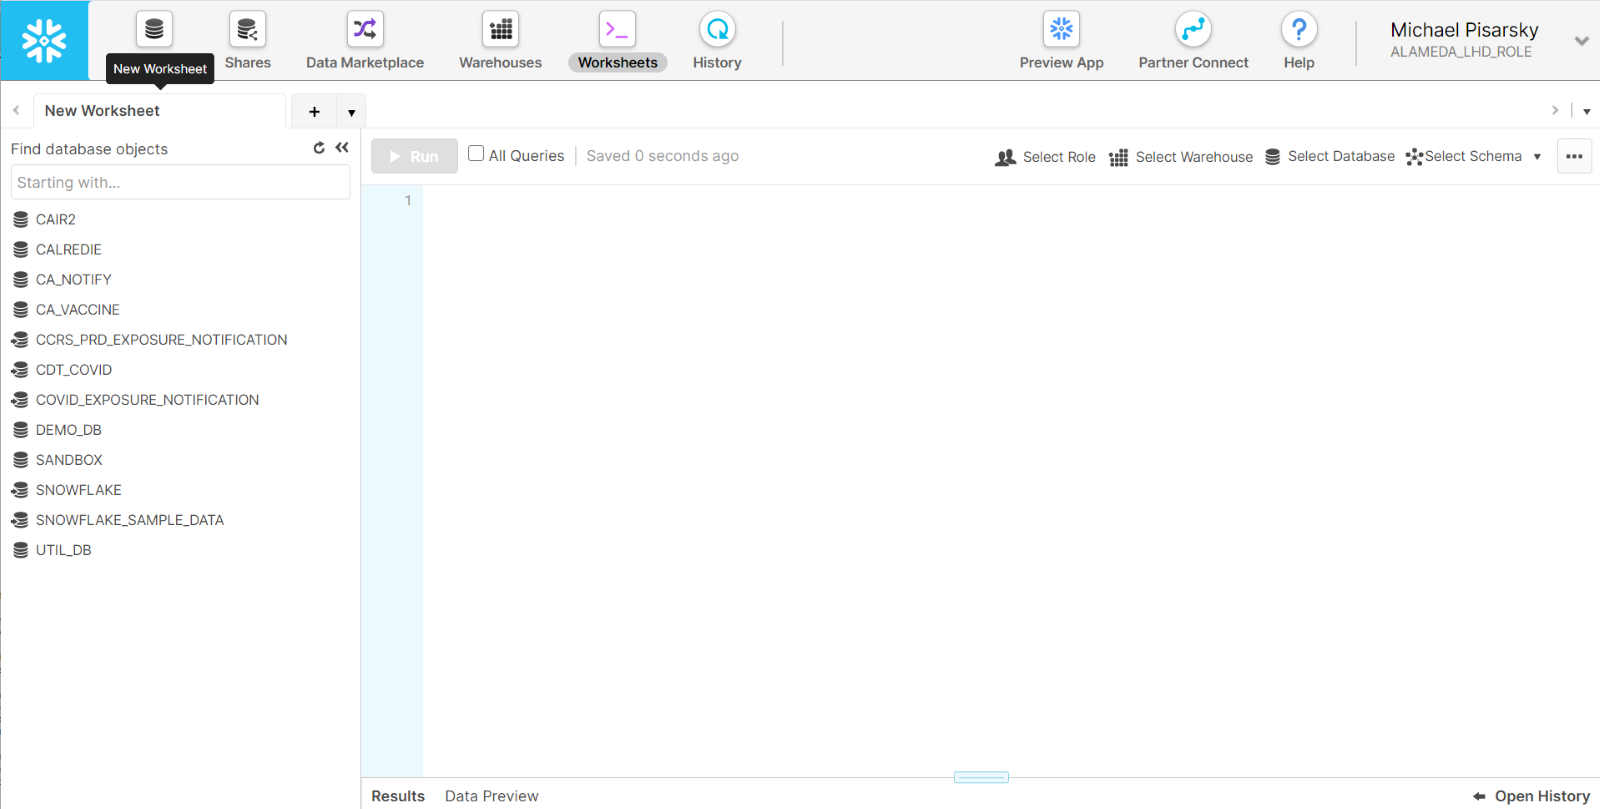
Click the arrow in the far-right corner to set the defaults.
-
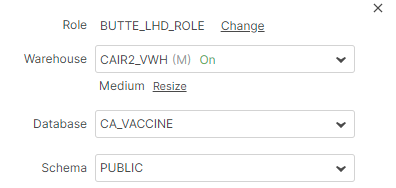
Make the following selections:
- Role = COUNTY_LHD_ROLE (Selection might vary)
- Warehouse = CAIR2_VWH (Selection might vary)
- Database = CA_VACCINE
- Schema = PUBLIC
-
Select the Worksheets page 
-
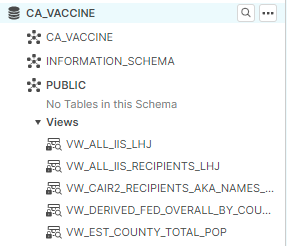
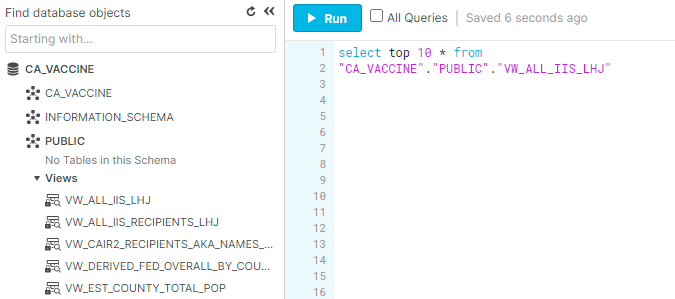
In the left panel, you will see “CA_VACCINE” in the object browser, click to expand. Then click the schema “PUBLIC” and click “Views”.
-
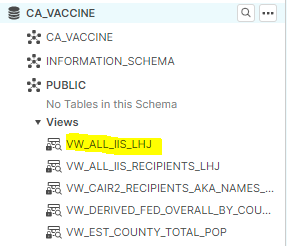
Scroll down and locate the view “VW_ALL_IIS_LHJ”.
-
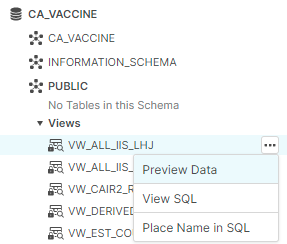
Click on it and wait for ellipse to appear and select “Preview Data”.
-
Return to SQL editor and type “select top 10 * from “.
-
Double click the “VW_ALL_IIS_LHJ” in the left panel for the table to appear in the SQL editor.
-
Click the “Run” button.
-
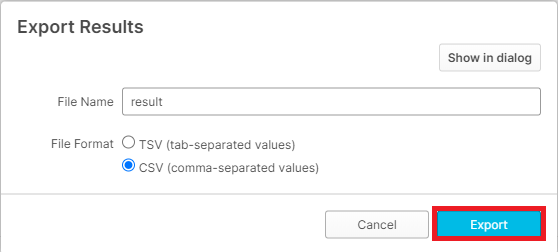
Click the “download icon” button. 
-
Select File Format as “CSV” and click the “Export” button.
-
File will begin to download.

-
Click to open the file and save where you need it.